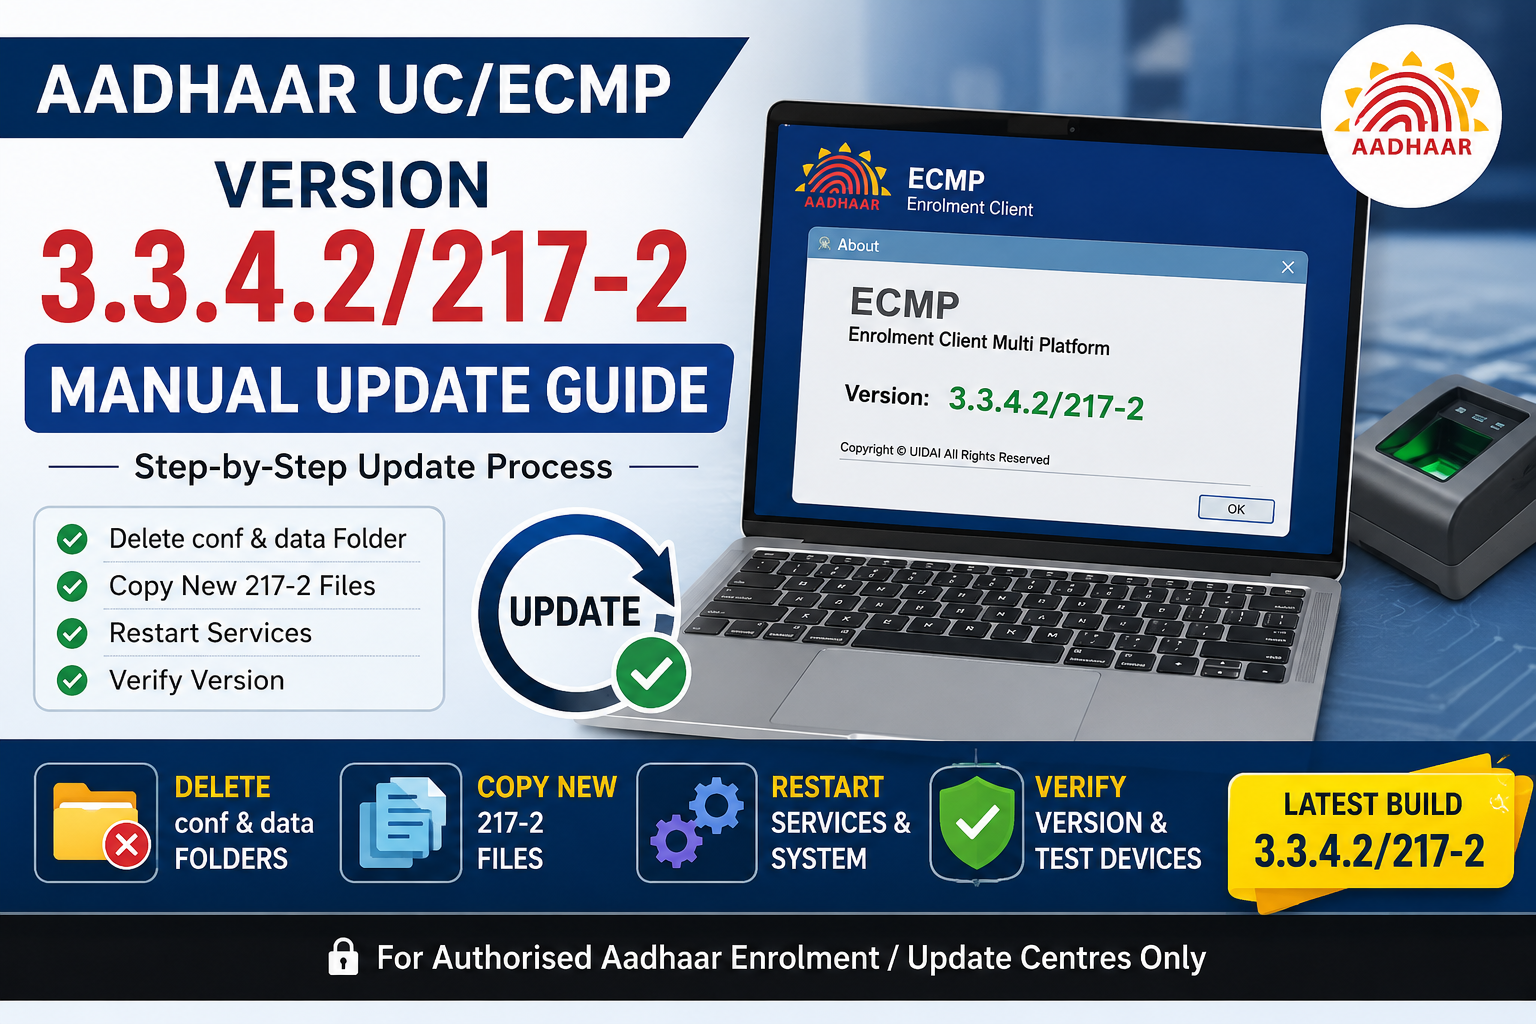
If you are looking for the Aadhaar UC/ECMP Version 3.3.4.2/217-2 manual update procedure, this guide is for you.
In this article, we will explain the complete manual update process, including the important steps to delete the existing conf and data folders before replacing the new files, restart the required services, verify the installed version, and perform basic checks after the update.
🟢 Current Build: 3.3.4.2/217-2
💻 Platform: Windows
🔧 Update Type: Manual Update
👨💻 For: Authorised Aadhaar Enrolment/Update Centres
📌 Quick Navigation
- What is Aadhaar UC/ECMP?
- Before Starting the Update
- Manual Update Procedure
- Delete conf and data Folders
- Copy New 217-2 Files
- Restart Services and System
- Check ECMP/UC Version
- Post-Update Testing
- Common Problems
- Important Safety Tips
- Frequently Asked Questions
What is Aadhaar UC/ECMP?
ECMP (Enrolment Client Multi Platform) and UC (Universal Client) are client applications used in the Aadhaar enrolment and update ecosystem.
These applications are used by authorised Aadhaar operators for carrying out permitted enrolment and update activities.
Software versions and installation requirements can change from time to time. Therefore, operators should always use the version and installation package supplied through their authorised technical channel.
Before Starting the Update
Before manually updating Aadhaar UC/ECMP to Version 3.3.4.2/217-2, complete the following checks.
Pre-Update Checklist
- Close Aadhaar UC/ECMP completely.
- Stop the required Aadhaar-related services.
- Close any related running processes from Task Manager.
- Keep the authorised 3.3.4.2/217-2 update package ready.
- Take the required backup before deleting existing folders.
- Make sure you have Administrator access.
- Disconnect/close biometric applications where required.
- Make sure no Aadhaar client file is currently in use.
⚠️ Important: Do not download or install modified Aadhaar software from unknown websites or unofficial sources. Use only the package provided through your authorised technical/Enrolment Agency channel.
Manual Update Procedure
Step 1: Close Aadhaar UC/ECMP
First, completely close the Aadhaar UC/ECMP application.
After closing the application, open:
Task Manager → Processes
Check whether any Aadhaar/ECMP/UC-related process is still running.
If required, close the process according to your authorised technical procedure.
Step 2: Stop Required Services
Press:
Windows + R
Type:
services.mscand press Enter.
Locate the Aadhaar/UC/ECMP-related services that need to be stopped for the update.
Stop the required services before proceeding with file replacement.
💡 Why? If a service is still using an application file, Windows may prevent that file or folder from being deleted or replaced.
Step 3: Extract Version 3.3.4.2/217-2
Extract the authorised 3.3.4.2/217-2 update package to a temporary location.
For example:
C:\Aadhaar_Update\217-2\The above path is only an example. Use the actual location specified in your authorised installation instructions.
After extraction, verify that the required update files and folders are available.
Step 4: Take Required Backup
Before deleting any existing folders, take the backup required by your authorised update procedure.
This is especially important if your existing installation contains configuration or operational information that needs to be retained.
Do not upload or share Aadhaar-related sensitive files with unauthorised persons or third-party services.
Step 5: Delete conf and data Folders
This is an important step in the 3.3.4.2/217-2 manual update procedure.
Go to the existing Aadhaar UC/ECMP installation directory.
Before copying the new update files:
Delete the existing:
conffolder.
Then delete:
datafolder.
In short:
Existing ECMP/UC Installation
        │
        ├── conf   ← DELETE
        ├── data   ← DELETE
        └── Other Files
⚠️ Important: Make sure the Aadhaar application and required services are stopped before deleting these folders.
⚠️ If your authorised installation procedure specifies a particular location or additional files to preserve, follow that procedure exactly.
Step 6: Copy New conf and data Folders
After deleting the existing conf and data folders, go to the extracted 3.3.4.2/217-2 update package.
Copy the new:
confand
datafolders into the appropriate Aadhaar UC/ECMP installation directory.
The resulting structure should contain the new folders supplied with the authorised update package.
Step 7: Replace Remaining Update Files
Now copy the remaining files from the 3.3.4.2/217-2 package into the designated installation directory.
If Windows displays:
“Replace the existing file?”
confirm the replacement only when the file is part of the authorised update package and the destination is correct.
Do not randomly replace DLL, EXE or configuration files from another Aadhaar installation.
Step 8: Start Required Services
After completing the file replacement:
- Open
services.msc. - Locate the required Aadhaar/UC/ECMP services.
- Start the services according to the authorised installation procedure.
- Confirm that the services are running normally.
If any required service fails to start, do not immediately delete additional files or modify the Windows Registry.
Step 9: Restart the Computer
After completing the manual update, restart the Windows computer.
A system restart helps ensure that the updated files and services are loaded correctly.
After restarting, wait for Windows to fully load before opening the Aadhaar client.
Step 10: Open Aadhaar UC/ECMP
Launch the Aadhaar UC/ECMP application normally.
Check that:
- The application opens correctly.
- The login screen appears.
- Operator/Supervisor authentication works.
- No unexpected error is displayed.
Check ECMP/UC Version
After opening the application, check the About / Version / Application Information section, depending on the client interface available on your system.
The expected build should be:
3.3.4.2/217-2
If the old version is still displayed, do not repeatedly replace files.
First verify:
- The correct update package was used.
- The correct installation directory was selected.
- The old
confanddatafolders were removed as required. - The new
confanddatafolders were copied correctly. - Required services were restarted.
- The computer was restarted.
Post-Update Testing
After updating to 3.3.4.2/217-2, perform a basic functional check before using the system for actual Aadhaar work.
Application Test
| Test | Check |
|---|---|
| Application Launch | ✅ |
| Version | 3.3.4.2/217-2 |
| Operator Login | ✅ |
| Supervisor Login | ✅ |
| Required Services | ✅ |
| Network Connectivity | ✅ |
| Biometric Device | ✅ |
| Fingerprint Capture | ✅ |
| Iris Device | ✅ |
| Camera | ✅ |
| Printer | ✅ |
| Scanner | ✅ |
If any device is not working after the update, troubleshoot the device according to the authorised device/technical support procedure.
Common Problems After Manual Update
1. Aadhaar Client Is Not Opening
If the application does not open after the update:
- Restart the computer.
- Check required services.
- Verify that the installation files are complete.
- Check Windows Event Viewer for relevant errors.
- Confirm that the correct update package was used.
2. Old Version Is Still Showing
If the client still shows an older version:
- Verify the installation path.
- Confirm that the new files were copied to the correct directory.
- Check whether the
confanddatafolders were replaced correctly. - Restart the required services.
- Restart the computer.
3. conf or data Folder Cannot Be Deleted
If Windows says that the folder is being used by another application:
- Close Aadhaar UC/ECMP.
- Open Task Manager.
- Check for related running processes.
- Stop the required services.
- Try deleting the folders again.
Do not force-delete system files without understanding what they belong to.
4. Biometric Device Is Not Detected
If the fingerprint or iris device is not detected:
- Check the USB connection.
- Check Windows Device Manager.
- Verify the required device service.
- Check the authorised biometric device driver.
- Restart the system.
- Test the device through the authorised Aadhaar client.
5. Login Problem After Update
If login fails after the update:
- Check network connectivity.
- Verify the system date and time.
- Check operator/supervisor credentials.
- Verify client registration/configuration.
- Contact the authorised technical support team if the issue continues.
Important Safety Tips
Aadhaar systems handle sensitive information, so software updates should be performed carefully.
✅ Do
- Use only authorised software packages.
- Keep the required backup before updating.
- Stop required services before replacing files.
- Delete
confanddataonly as specified by the authorised update procedure. - Verify the version after updating.
- Test biometric devices after installation.
- Keep operator credentials confidential.
❌ Don’t
- Do not use cracked or modified Aadhaar software.
- Do not download random EXE/DLL files from the internet.
- Do not share Aadhaar-related files publicly.
- Do not share operator credentials.
- Do not install unknown third-party repair tools.
- Do not modify Registry settings unless instructed by authorised technical support.
Quick Update Flow
For quick reference, the complete process is:
Close ECMP/UC
      ↓
Stop Required Services
      ↓
Take Required Backup
      ↓
Delete Existing conf Folder
      ↓
Delete Existing data Folder
      ↓
Copy New conf Folder
      ↓
Copy New data Folder
      ↓
Replace Required 217-2 Files
      ↓
Start Required Services
      ↓
Restart Computer
      ↓
Open ECMP/UC
      ↓
Check Version
      ↓
Test Biometric & Other Devices
Frequently Asked Questions
What is Aadhaar UC/ECMP Version 3.3.4.2/217-2?
It is a software build used in the authorised Aadhaar enrolment/update client environment. Always verify the applicable build with your authorised technical source.
Do I need to delete the conf and data folders?
For the 3.3.4.2/217-2 manual update procedure described in this guide, the existing conf and data folders are removed before the new folders from the update package are copied.
Should I take a backup before deleting these folders?
Yes. Follow your authorised backup procedure before removing existing folders.
Do I need to stop Aadhaar services before deleting the folders?
Yes. The Aadhaar client and relevant services should be closed/stopped before attempting the folder replacement.
What should I do if the update fails?
Do not randomly delete additional files or install another version. Verify the update package, installation path, services and backup, and contact your authorised technical support team if required.
How can I confirm that the update was successful?
Open the Aadhaar UC/ECMP client and check the displayed application version. It should show:
3.3.4.2/217-2
Also perform the required functional and biometric device tests.
Final Checklist
Before considering the update complete, verify all of the following:
- ECMP/UC application closed before update
- Required services stopped
- Required backup completed
- Old
conffolder deleted - Old
datafolder deleted - New
conffolder copied - New
datafolder copied - Remaining 217-2 files replaced
- Required services started
- Computer restarted
- Version verified
- Operator login tested
- Supervisor login tested
- Fingerprint tested
- Iris tested
- Camera tested
- Printer tested
- No unexpected error
Conclusion
The Aadhaar UC/ECMP Version 3.3.4.2/217-2 manual update should be performed carefully and in the correct sequence.
The key point of this update procedure is that, before copying the new 217-2 files, the existing conf and data folders are deleted, followed by copying the corresponding new folders from the authorised update package.
After completing the file replacement, restart the required services, reboot the computer, verify Version 3.3.4.2/217-2, and test the biometric and other connected devices.
Always follow the latest instructions issued by your Registrar, Enrolment Agency or authorised UIDAI technical support channel.
Disclaimer: This article is intended for authorised Aadhaar operators and technical personnel as an informational guide. Actual installation paths, files, services and update requirements may vary by deployment. Always follow the latest official/authorised installation instructions supplied for your Aadhaar setup.