📌 Key Article Highlights & Takeaways
- It covers three use cases:
A6 Thermal Printer with A6 Paper Roll
A6 Thermal Printer with A7 Paper Roll
Existing DOT Matrix Printer1.
- Choose "RECEIPT" form in PDF print settings.
- For legibility issues, set print direction to unidirectional.
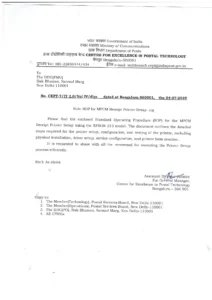
Printer Configuration Guide for IT 2.0 Offices (V1.0)
Creation Date: 12.06.2025
Introduction
This guide provides configuration steps for printer settings after the rollout of IT 2.0 software. It covers three use cases:
- A6 Thermal Printer with A6 Paper Roll
- A6 Thermal Printer with A7 Paper Roll
- Existing DOT Matrix Printer
1. USE CASE 1: A6 Thermal Printer, A6 Size Paper Roll
Printer Model: Zebra ZD 230 TA
Settings:
- Page Setup:
- Width: 100 mm
- Height: 140 mm
- Media Type: Continuous labels
- Rotation: 90° Landscape
- Print Options:
- Darkness: 25–30 (recommended: 30)
- Printing Mode: Thermal transfer
- Graphic Options:
- Dithering: Clipart (6th setting)
- Graphics Type: Standard
- During Printing:
- Scale: Fit to Printable Area
2. USE CASE 2: A6 Thermal Printer, A7 Size Paper Roll
Printer Model: Zebra ZD 230 TA
Settings:
- Page Setup:
- Width: 104 mm
- Height: 58 mm
- Media Type: Continuous labels
- Rotation: 0° Portrait
- Print Options:
- Darkness: 25–30 (recommended: 30)
- Printing Mode: Thermal transfer
- Graphic Options:
- Dithering: Clipart (6th setting)
- Graphics Type: Standard
- During Printing:
- Scale: Fit to Printable Area
3. USE CASE 3: Existing DOT Matrix Printer
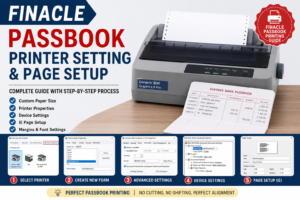
Printer Model: Epson LX-310
Settings:
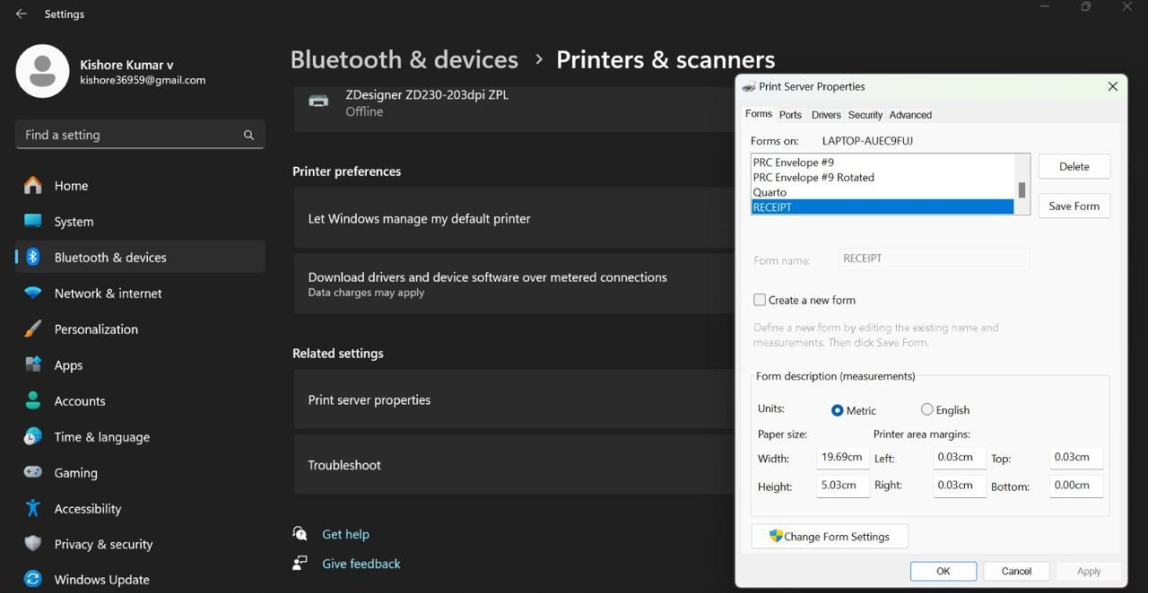
- Create Custom Form:
- Name: “RECEIPT”
- Dimensions:
- Width: 19.69 cm
- Height: 5.03 cm
- Top: 0.03 cm
- Bottom: 0.00 cm
- Printer Preferences:
- Select “RECEIPT” form under Paper Size.
- Advanced Options:
- Print Quality: 240 x 144 DPI
- Advanced Printing Features: Enabled
- Printer Properties:
- Start printing immediately.
- Enable “Print Spooled documents first” and “Advanced printing features.”
- Printing in IT 2.0:
- Select “DOT Matrix” option after booking.
- Choose “RECEIPT” form in PDF print settings.
- For legibility issues, set print direction to unidirectional.
Note: Adjust darkness and print direction as needed for optimal results. For troubleshooting, reprint using the “No failed” button if errors occur.
Updates:
Follow us on , Channel, and for all latest updates